Technical documentation
Learn more about plugin instalation3. Plugin configuration
1. Download free plugin
1) Download it directly from our site – you can download the .zip file
2) Signup using contact form – you will receive a link to the plugin at your mail address
Note
Your downloaded plugin should be a .ZIP file. If your browser is set to automatically unzip the file into folders, please refer to your browser settings.
2. Plugin installation and activation
When the plugin is downloaded (you have a .zip file) you can install the plugin at your wordpress dashboard. To do that, you need to go to Appearance -> Plugins -> Add new.
Here you can upload your plugin .zip file using button “Upload zip file” or just using drag and drop feature.
When the plugin is installed, you’ll need to activate it. To do that, you will just need to click on blue button “Activate plugin” next to plugin name and description

Hurray! Your plugin is installed properly. You can go forward for plugin configuration!
3. Plugin configuration
3.1 Setting up the demo mode
If you want to try our plugin, and see how it works, you can work in demo mode. It gives you the possibility to configure products just to figure out how easy it is!
Note
Note: In demo mode you can test product configuration, set up markups and create orders. Only limitation is that you can not pass the order to production center! (It’s a demo ;))
To do that, you will need to go to K2P API – and set a “Demo mode” checkbox activated. Now you can go and create products.

3.2 Setting up production mode
How to get into production mode?
If you tested the plugin and want to start selling, you’ll need to do few more steps to obtain access to full plugin functionality:
1) Obtain you User ID
This is a necessary step in setting up your account, as it helps us to connect you with our printing partner SaxoPrint. You can get it by registering on the website of the local SaxoPrint from your country
2) Send us a form with your customer ID you’ve received after registering to SaxoPrint. You can fill in the form right here. This is an extended questionnaire that will help us to gather more information about your company and review them in terms of your creditworthiness.
4) If verification goes fine, we will send you API credentials (API key and API secret) which will be necessary for proper plugin configuration.
If you passed the verification process and received API credentials, you can go forward with plugin configuration. To enter production mode you will need to go to K2P API. Here you need to uncheck “Demo mode” and select proper system instance ( A country you want to sell in, which you defined in registration form).
When the proper instance is chosen, then you will need do paste “API key” and “ API secret” which you received with verification process confirmation. Just click “Save changes” – your plugin is configured.
Note
API credentials are individual for every instance. If you want to sell in different countries, you will need to request new credentials and set up a new shop
4. Product configuration
If you configured plugin properly, you can go forward and create your first product.
Go to Products -> Add new
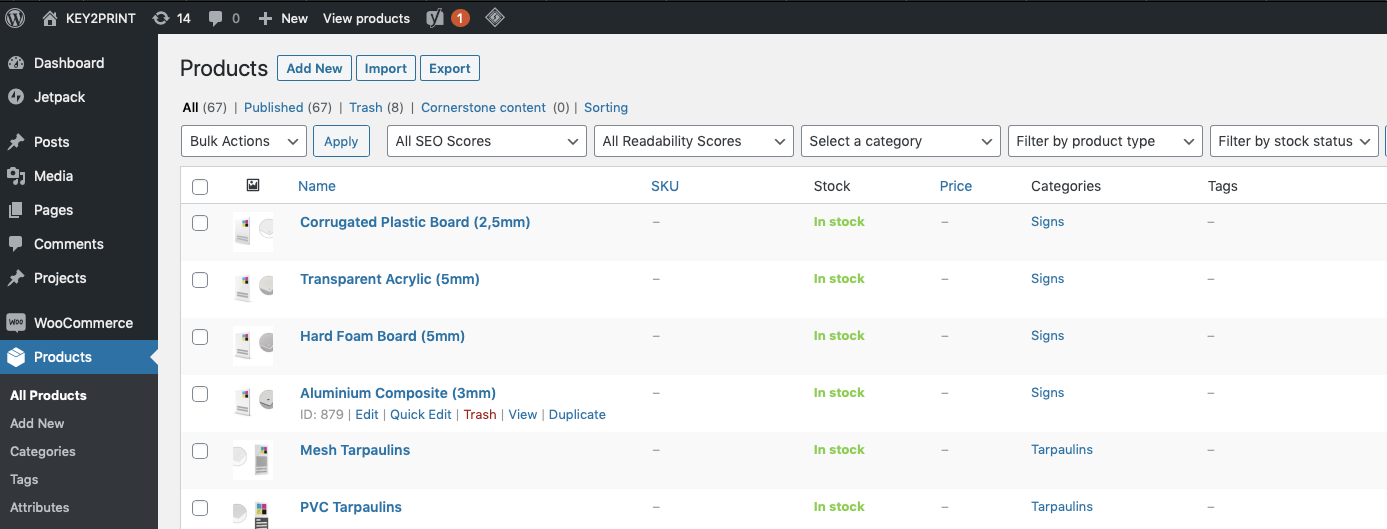
In product configuration wizard fill in all necessary information like product name, description, featured image etc. All WooCommerce features work as standard and can be used!
In product data you’ll need to choose proper product type : select K2P product from the list.
Here you will find additional product tab “ K2P Product”, in which you will setup the product.
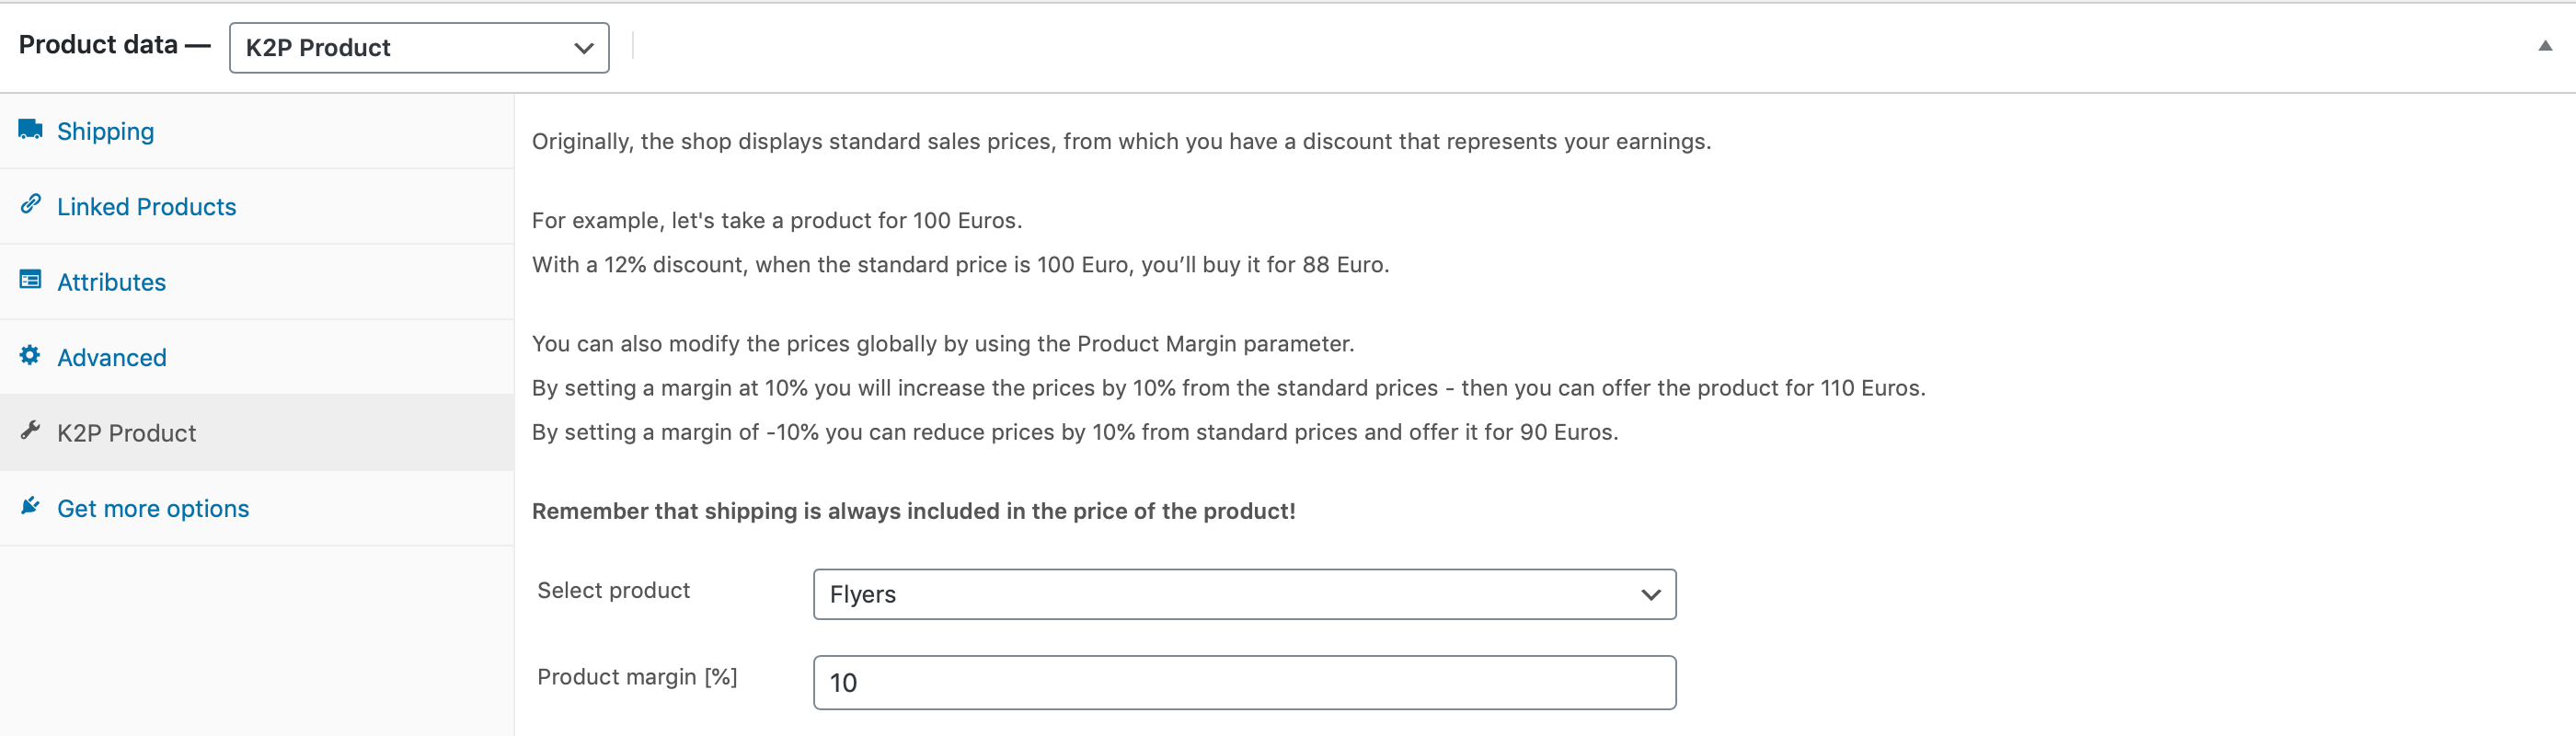
You will need to choose a proper product from “Select API instance”. This list is taken from SaxoPrint products from instance chosen in plugin configuration. Just select the proper one and set up a markup.
5. How markup works?
You can set your own markup in every product. Markup will be added to your basic prices.